PROJECT #3 - Radon Mitigation System.
BEFORE
|
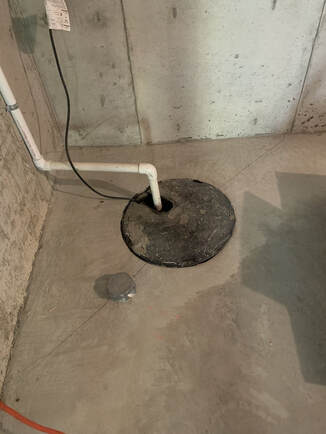
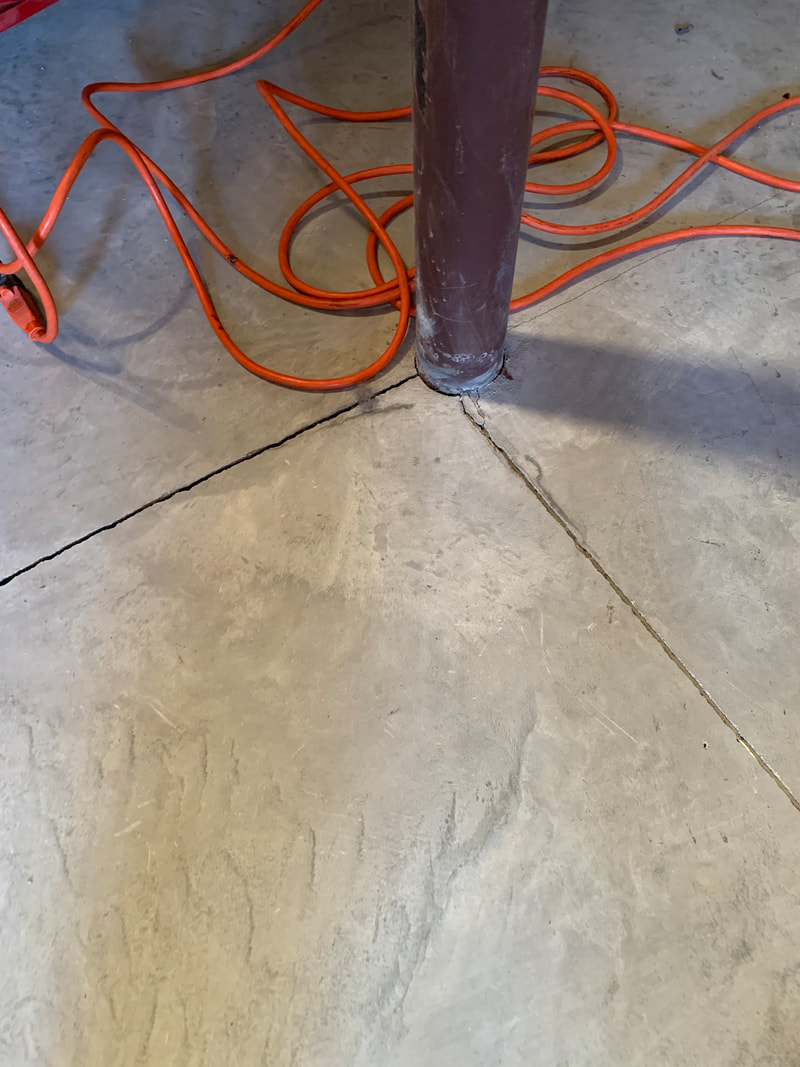
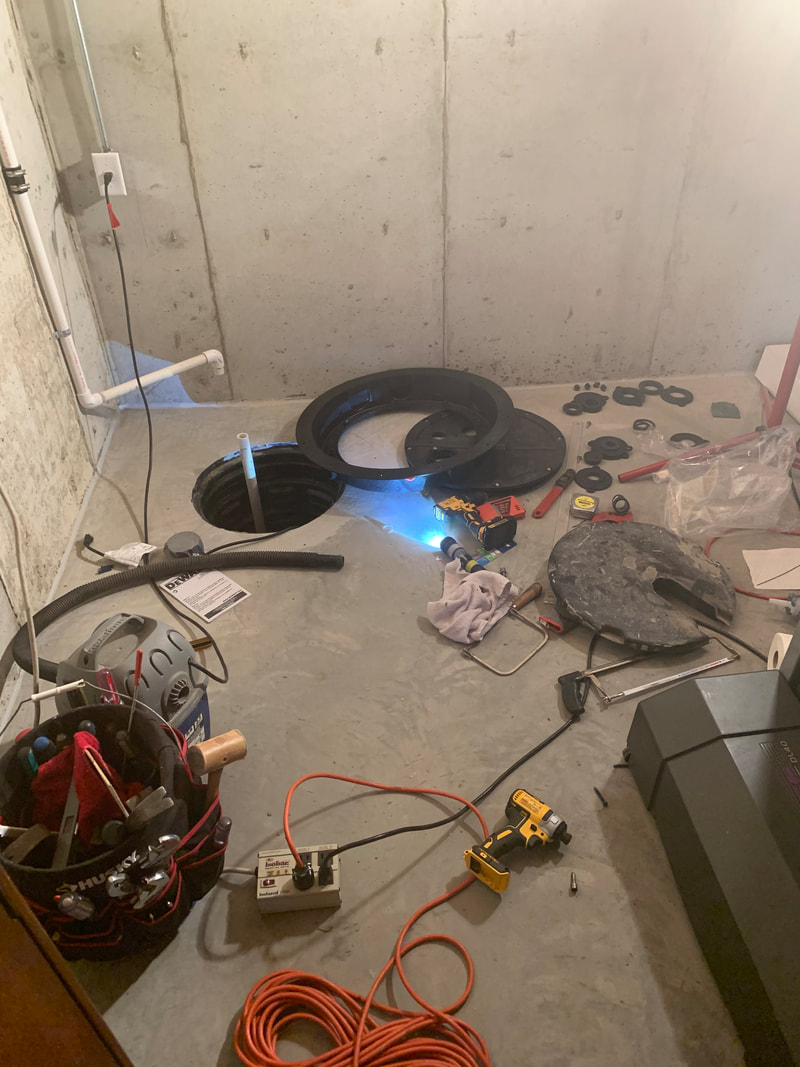
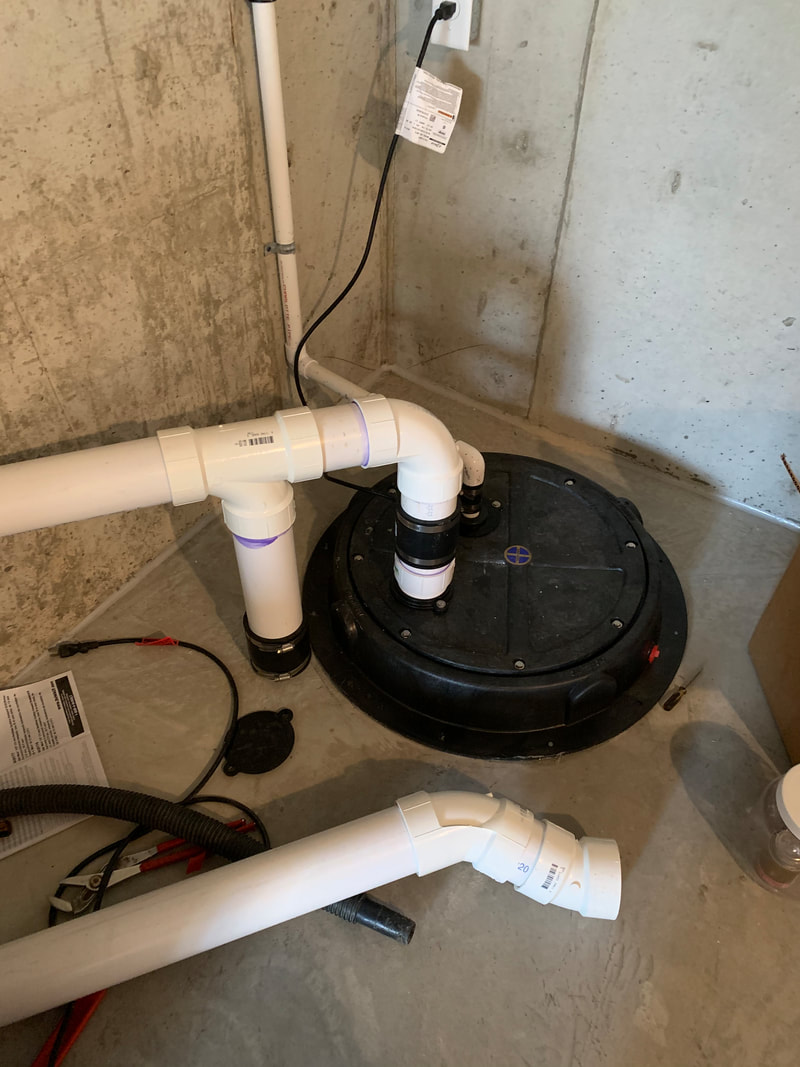
After testing, we discovered the house needed Radon Mitigation. Additionally, the Sump needed to be sealed both aesthetically and for Radon Mitigation. (We discovered that the little 'grey' thing there beside the sump is a Radon Mitigation Vent, already installed by the builder. We're partway there!
|
|
During
|
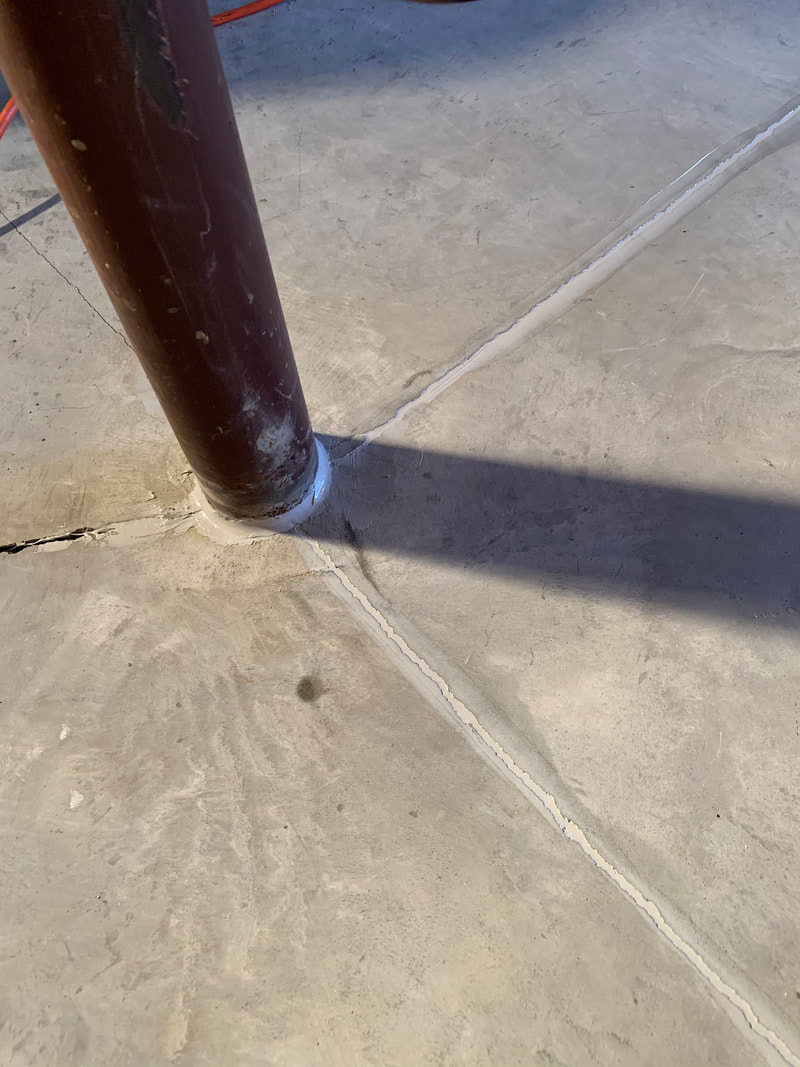
The first step that had to be done was to seal all the cracks and corners with a good sealant.
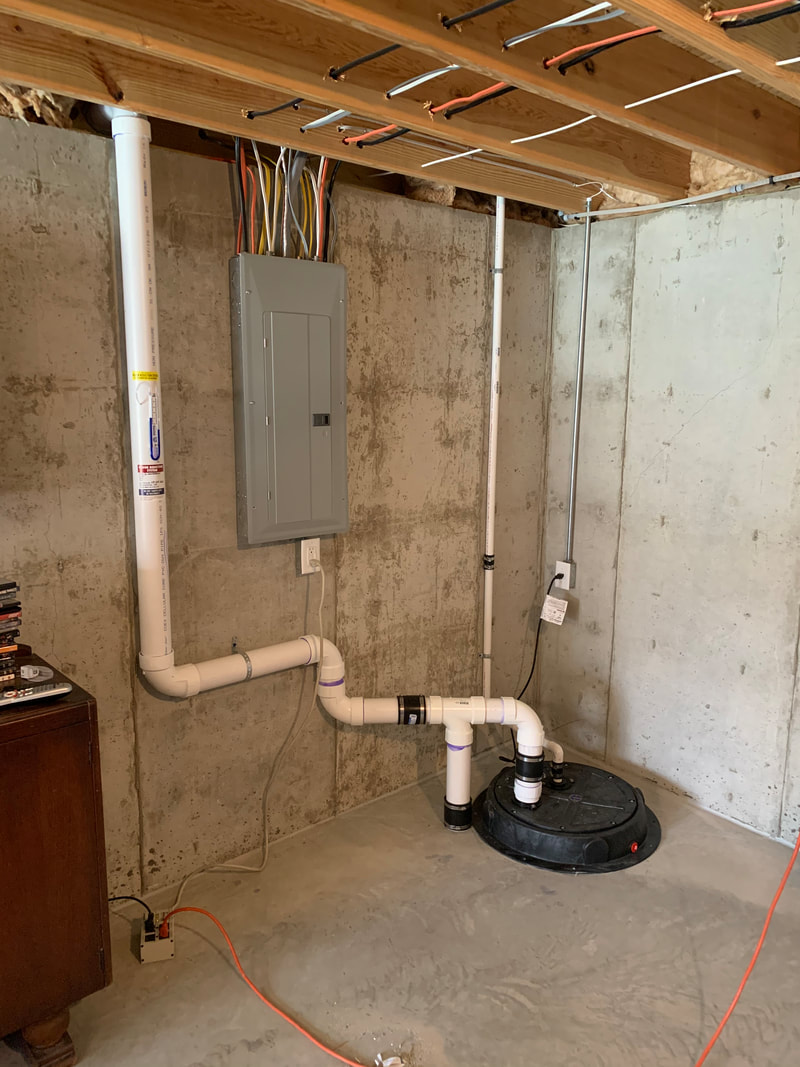
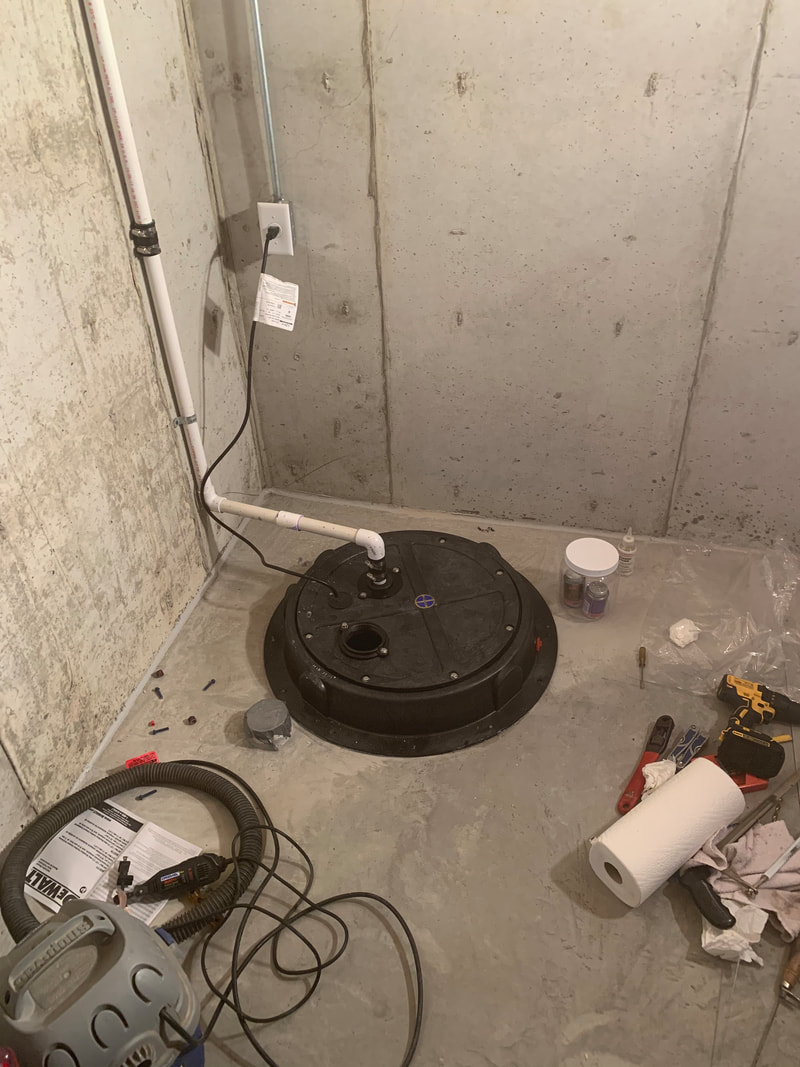
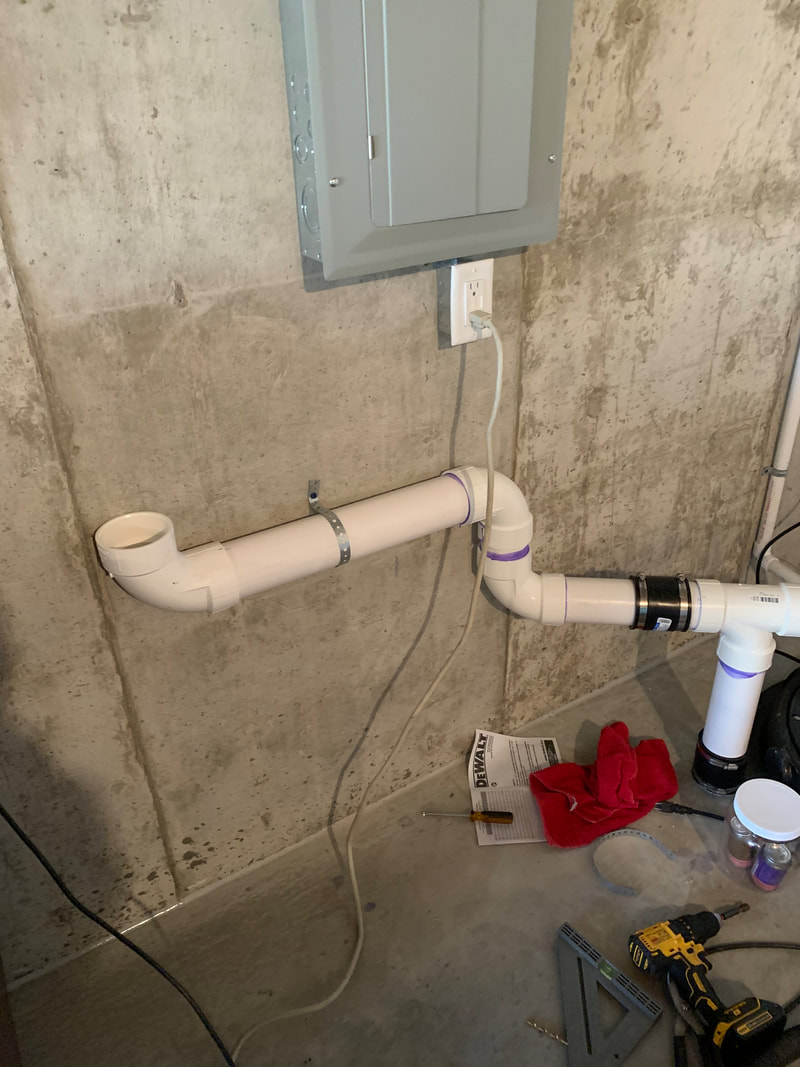
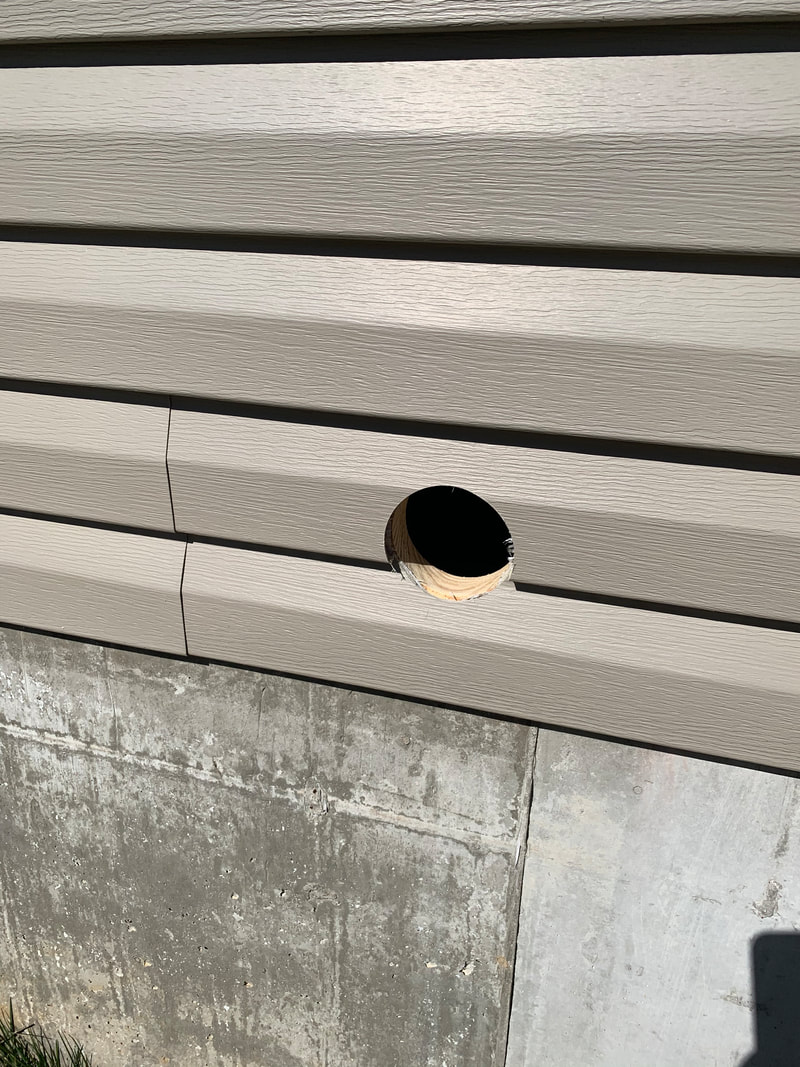
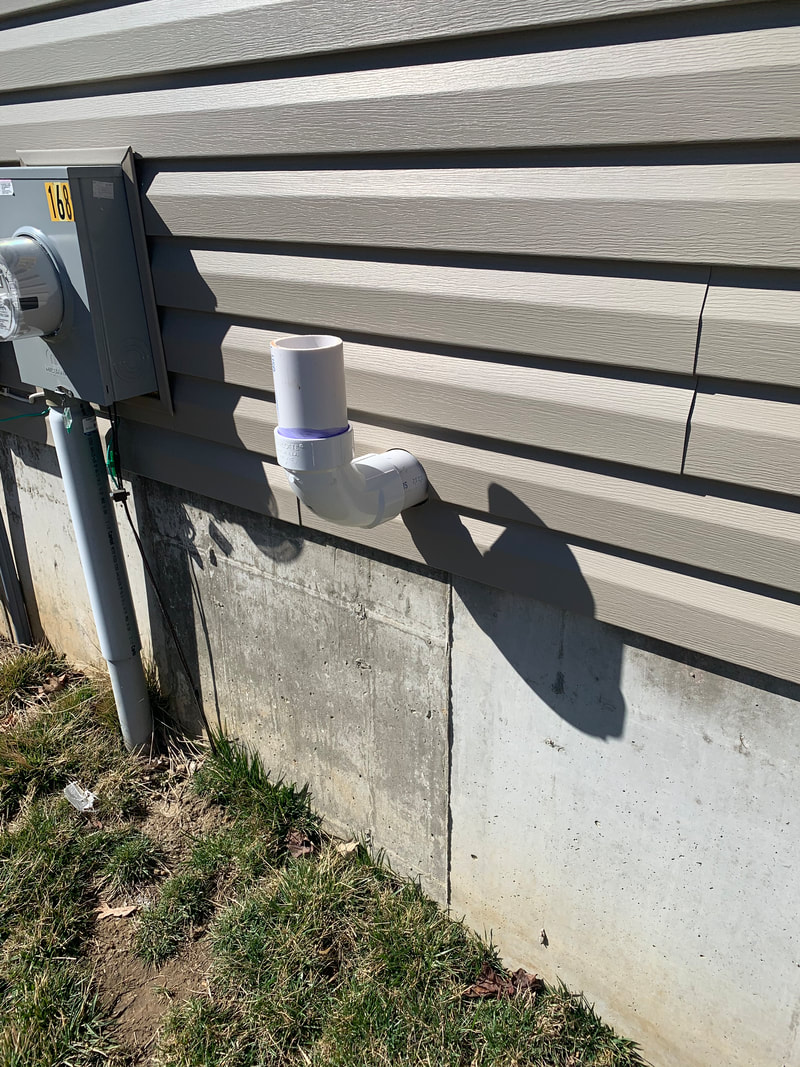
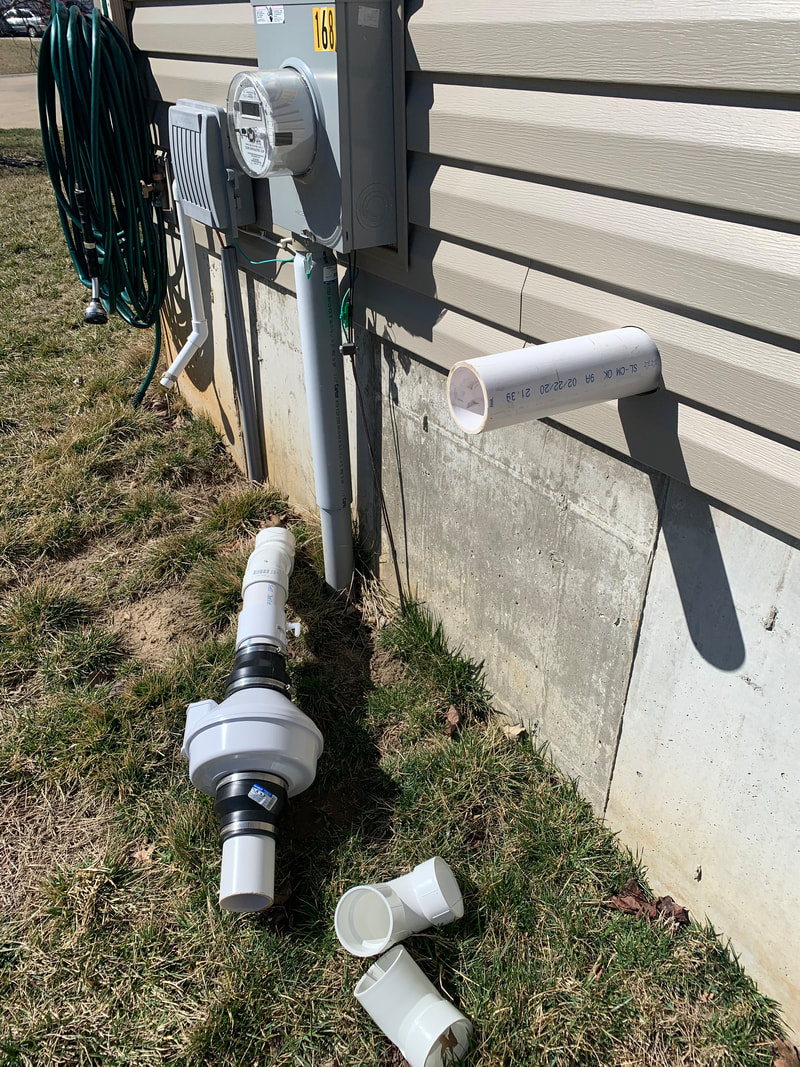
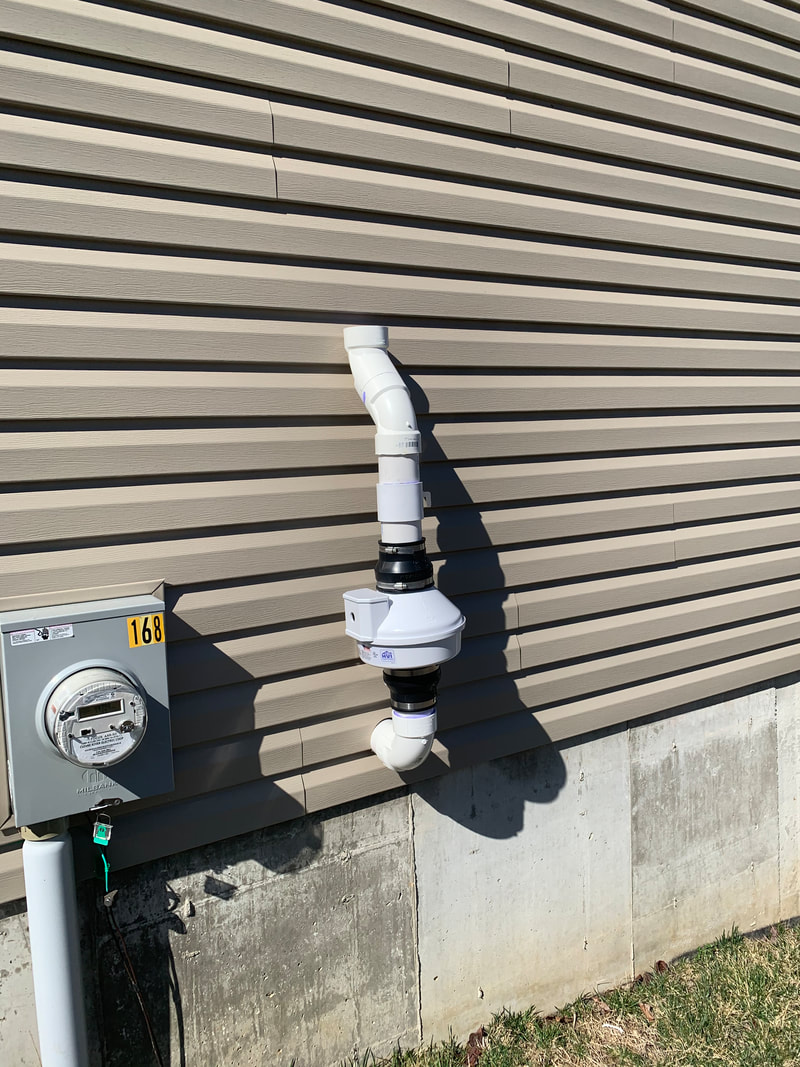
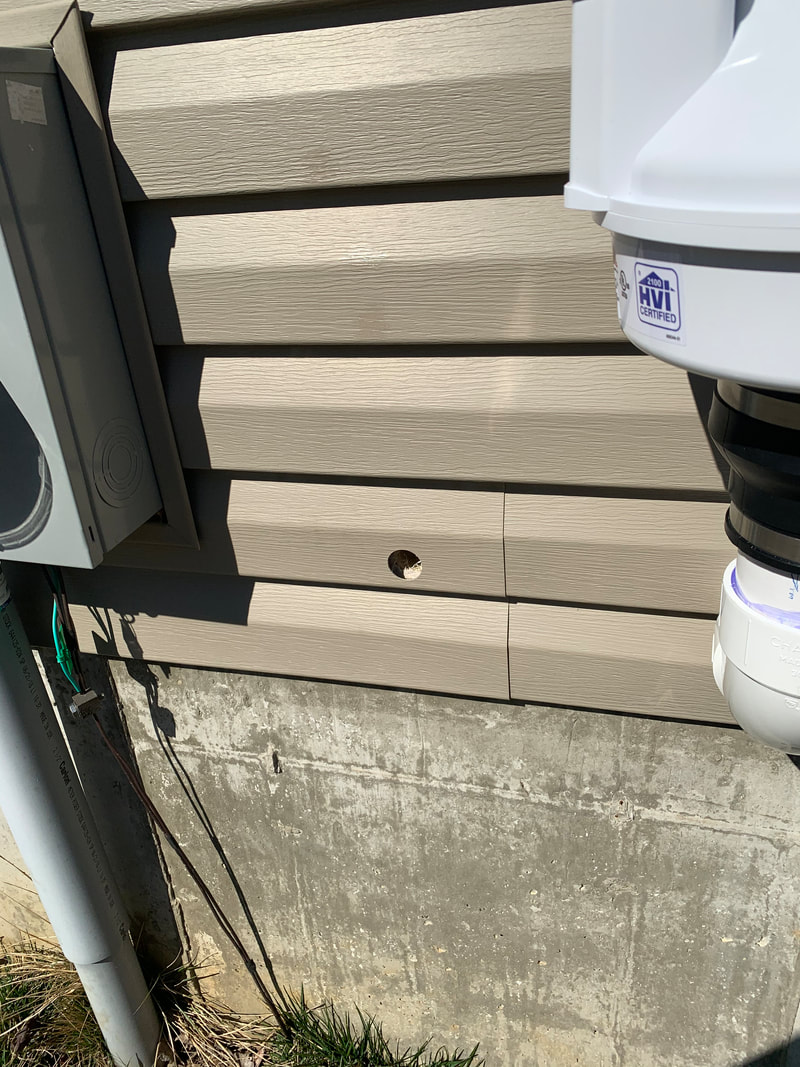
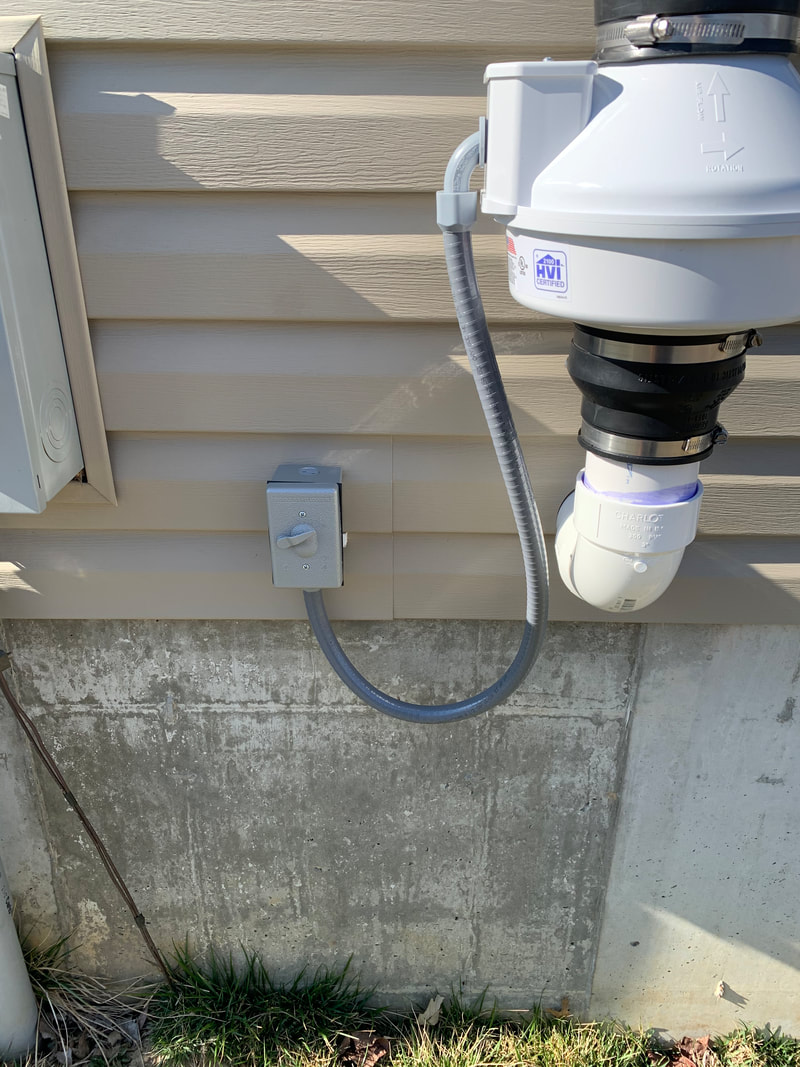
Here we have the sump "Dome" installed along with the sump pump drain line.. Then we begin building the vent stack, including the Radon Mitigation Vent preinstalled by the builder. You'll also see that the sump vent line and three points along the vent stack have been installed using Rubber Couplers. This allows easy access should anything in the Sump need maintenance. A Nifty technique I learned on the internet taught me how to drill a perfect hole through vinyl siding. I just happened to have the perfect 3.5" hole saw to put the vent stack through the foundation to the outside. A 90 degree bend is attached to the outside and it's ready for the Radon Fan. The Fan is assembled inside and then brought out to install. Next a hole is cut into the foundation again for the electrical lines. Wiring to the fan is installed and the switch allows for maintenance in the future. |
|
After
|
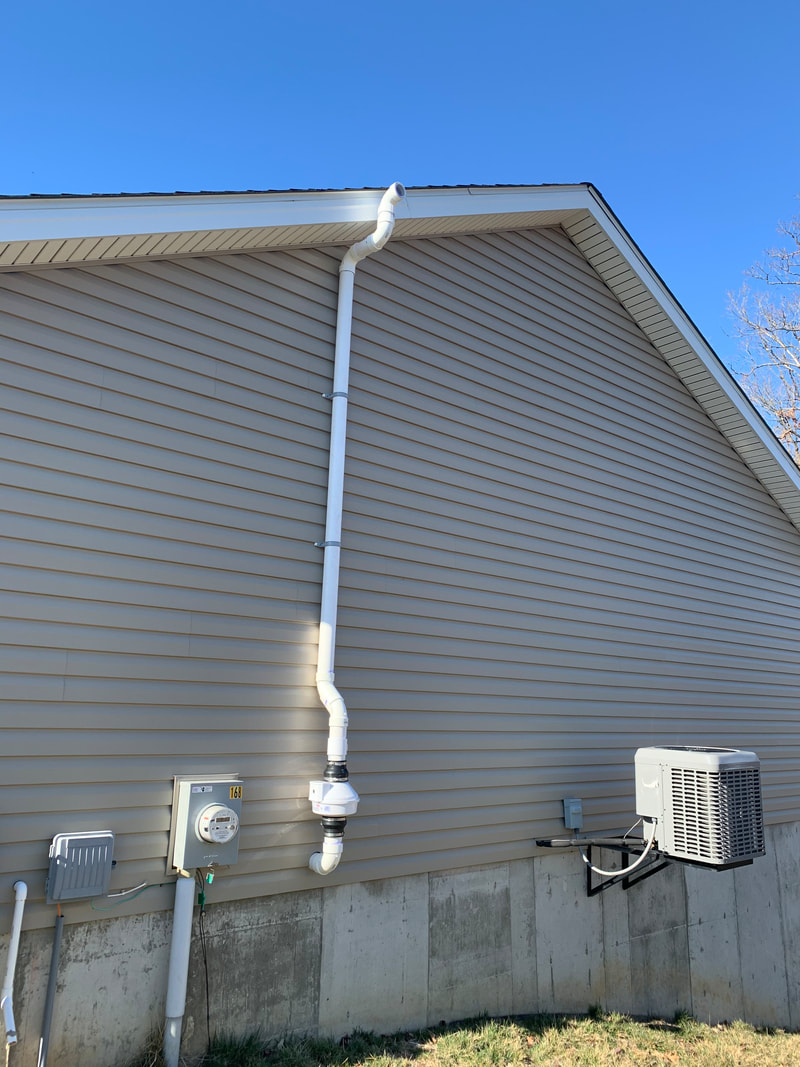
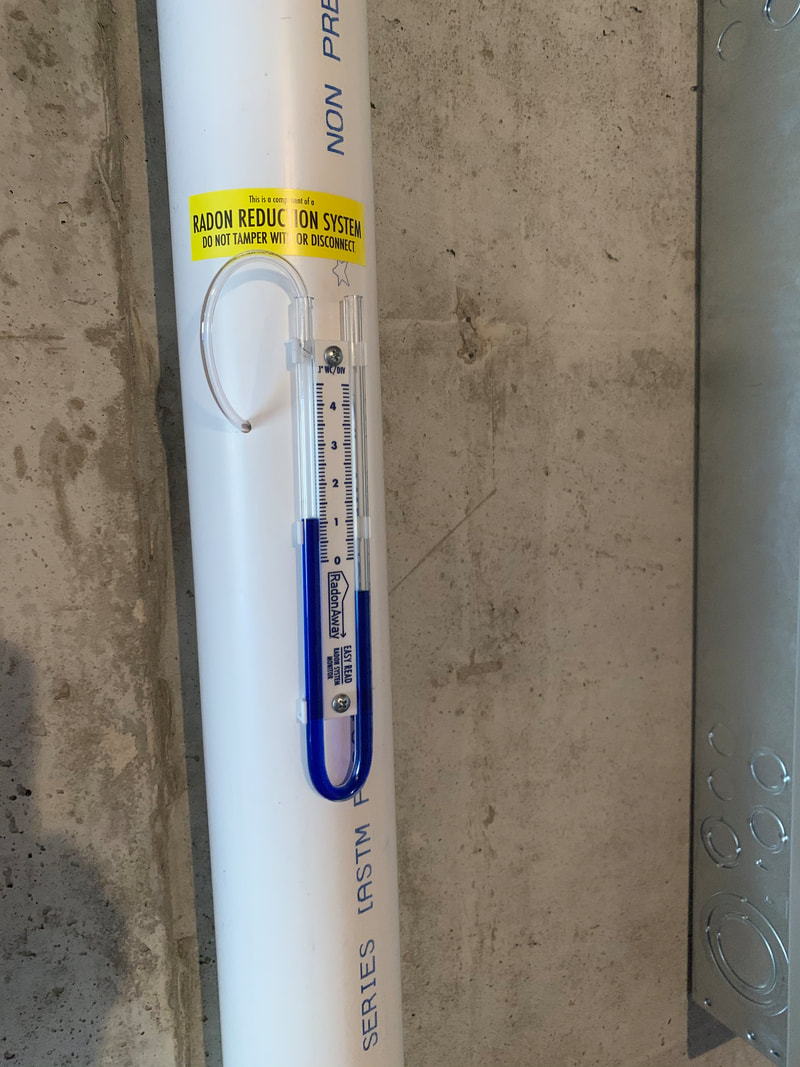
The outside vent stack is complete and a screen is put into the top to keep birds from nesting. Additionally, behind the vent stack are PVC blocks which allow the U brackets to hold the vent stack firmly and yet keep the vinyl from being deformed. The PVC blocks also will not deteriorate in weather. Inside a manometer is added to the stack to track pressure. |
|