Steps to the Rebuild of the Living Room (Part 2)
To see the Living Room Demolition (Part 1) Click Here
This project is COMPLETED 11/2016. 2½ Years in the making!
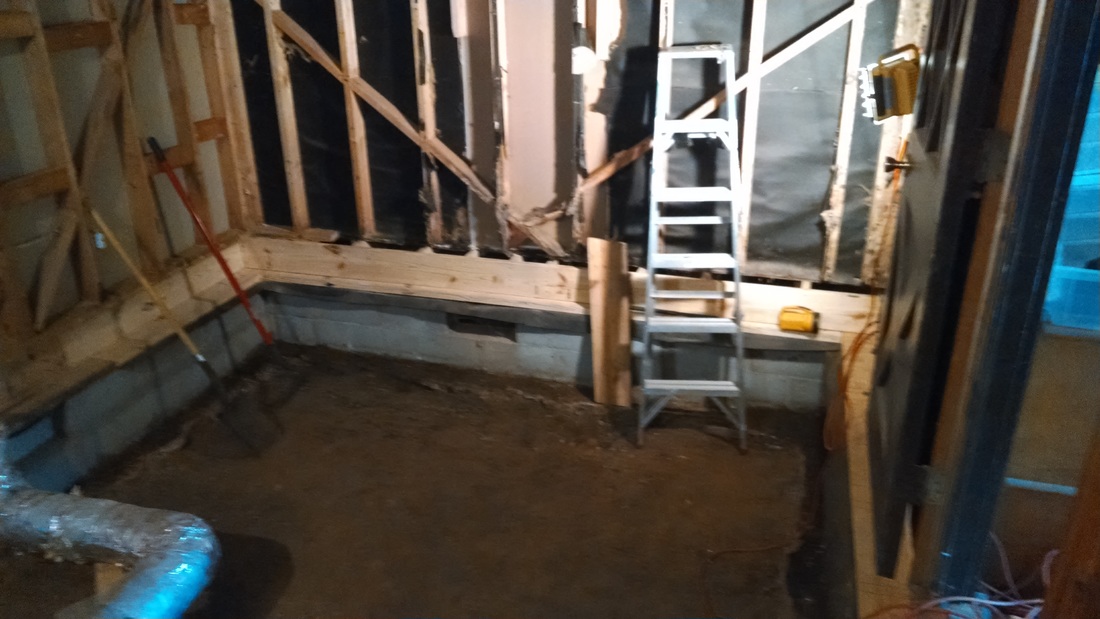
DURING REBUILD
|
This is the second part of a massive rebuild after a discovery of termites in our home. For the steps that got us this far, see the Demo, link above.
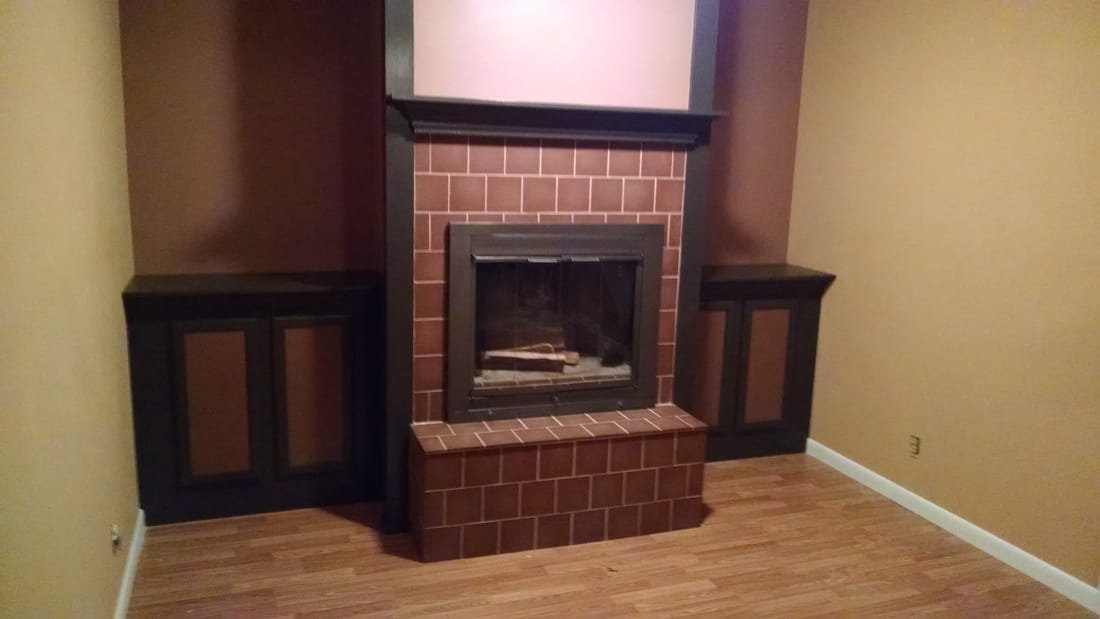
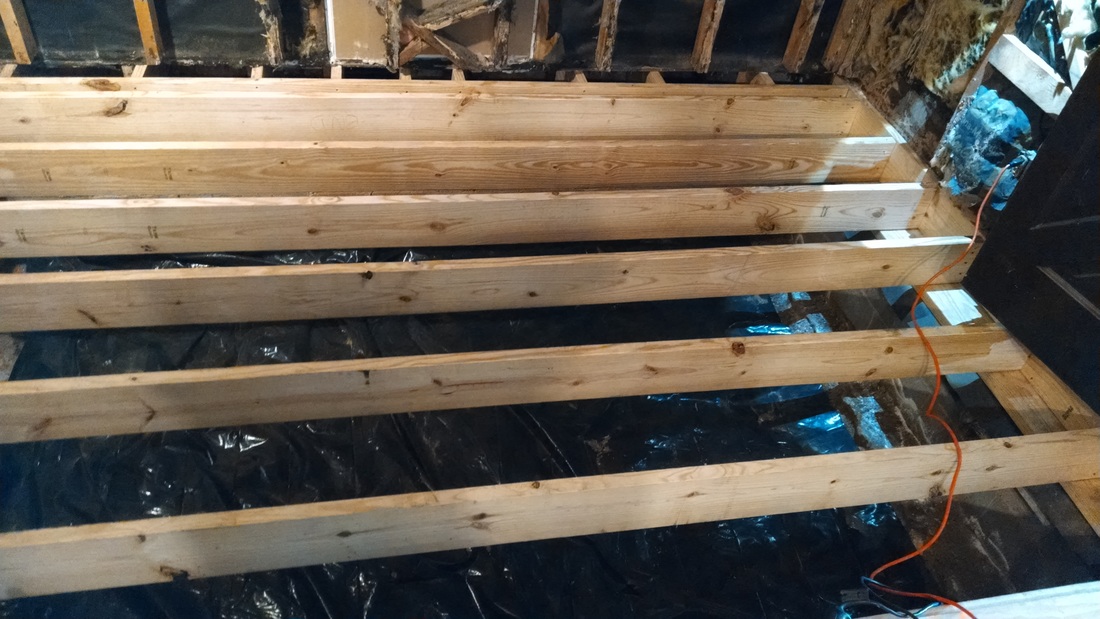
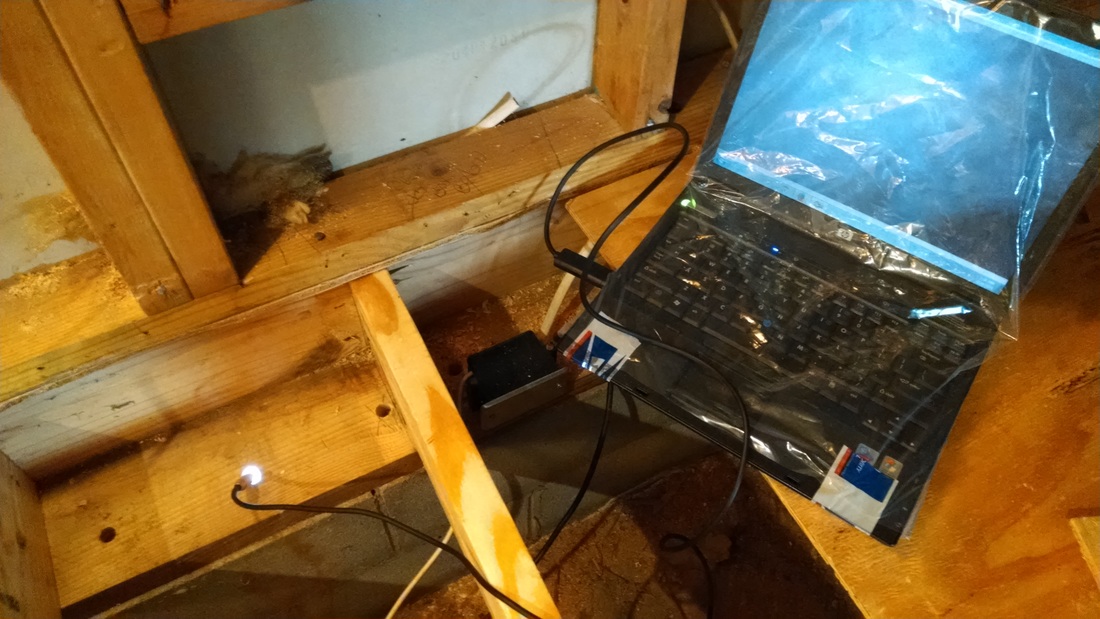
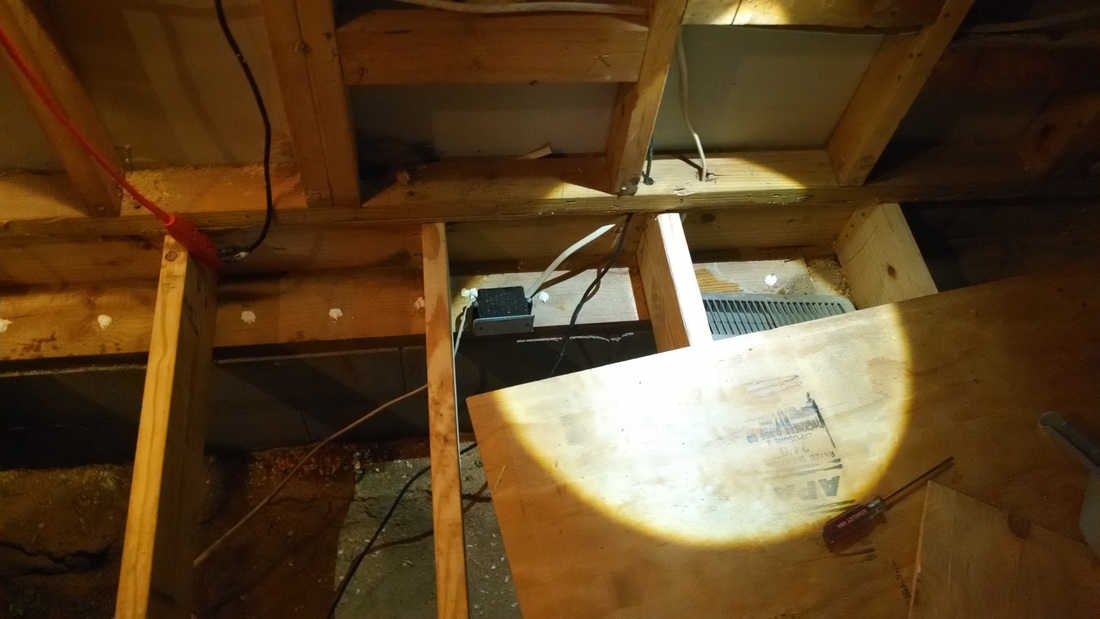
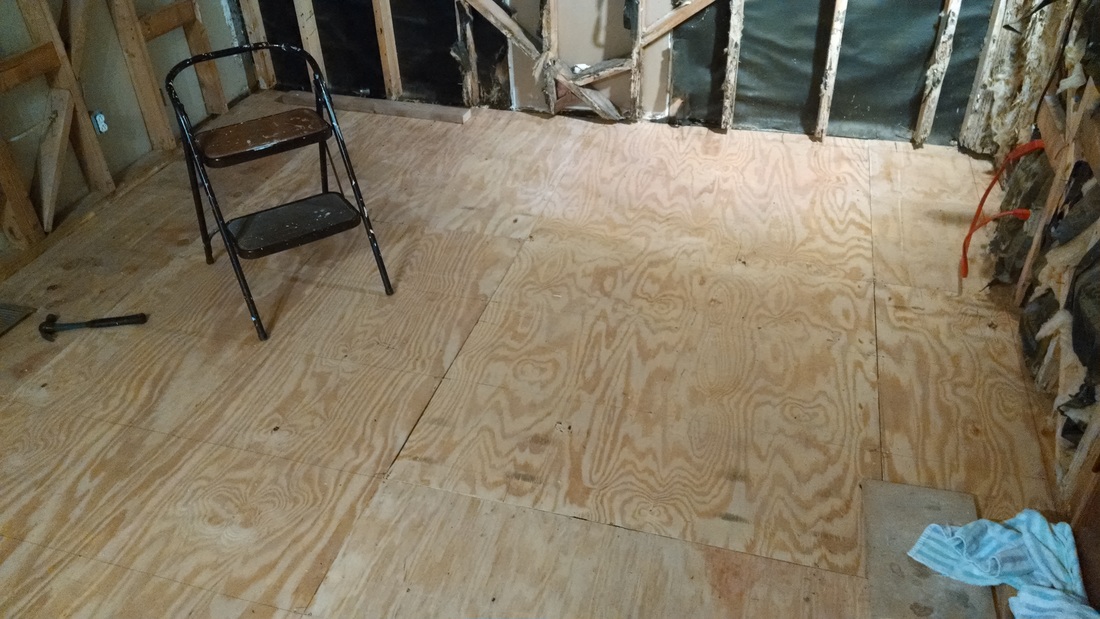
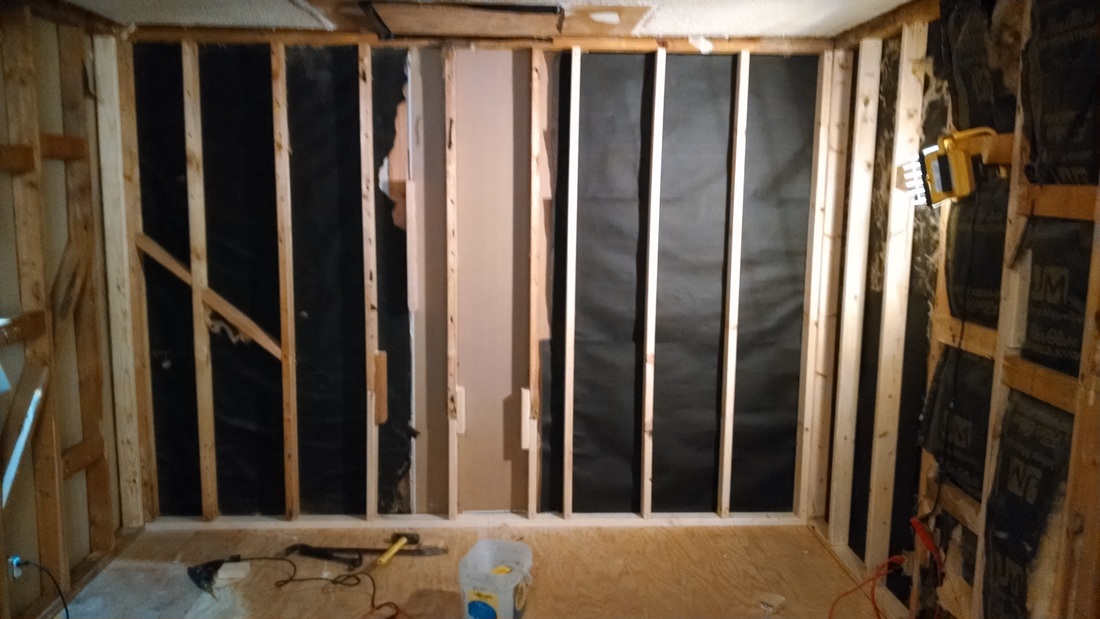
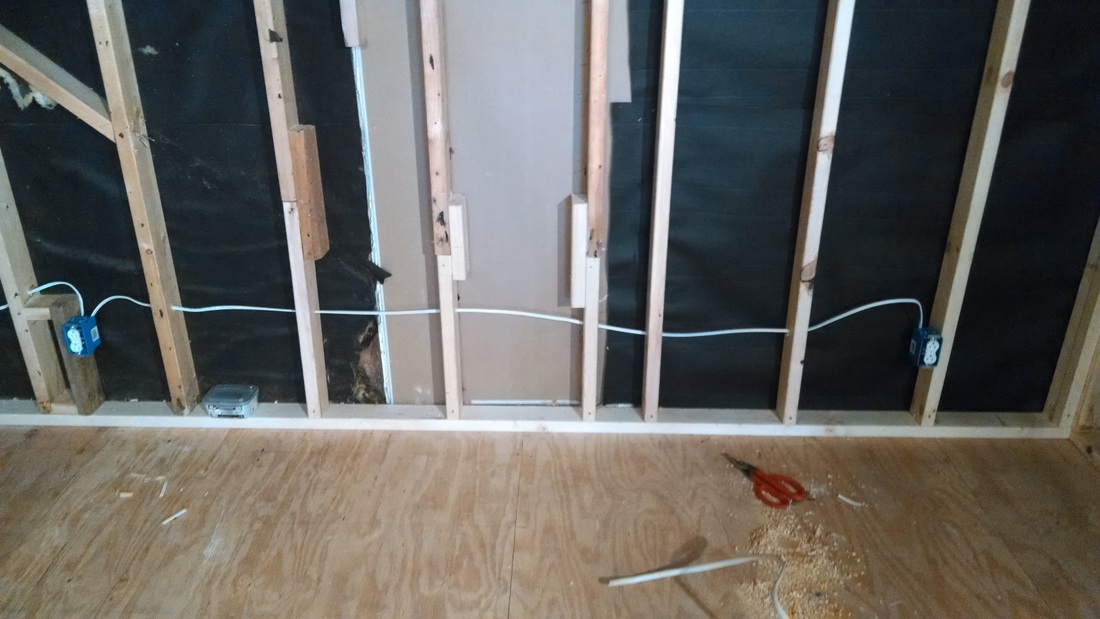
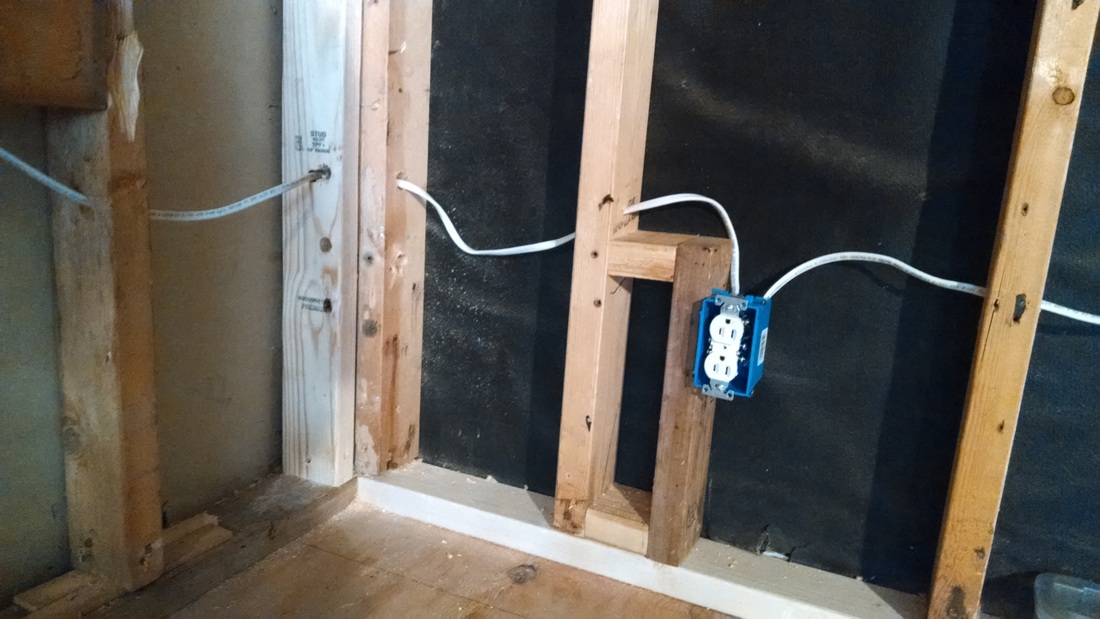
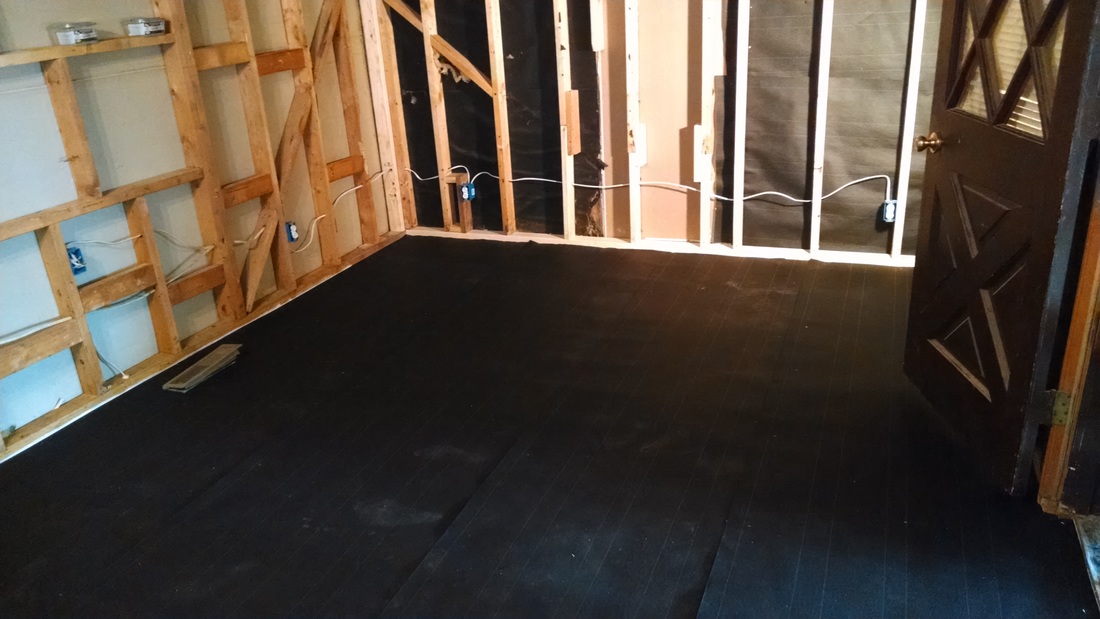
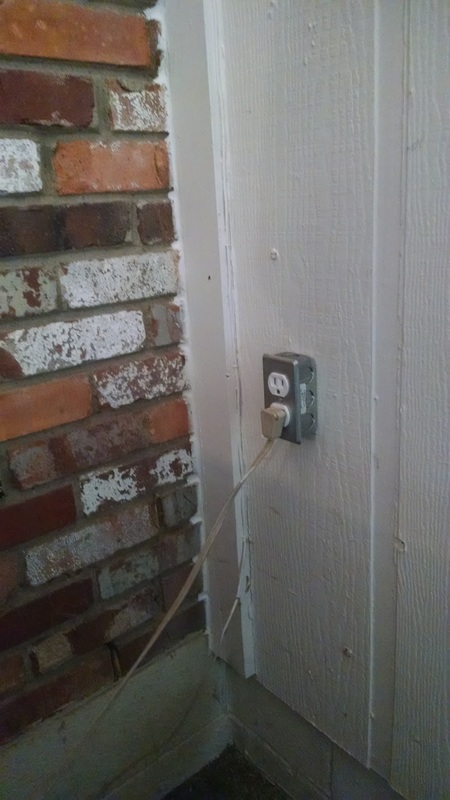
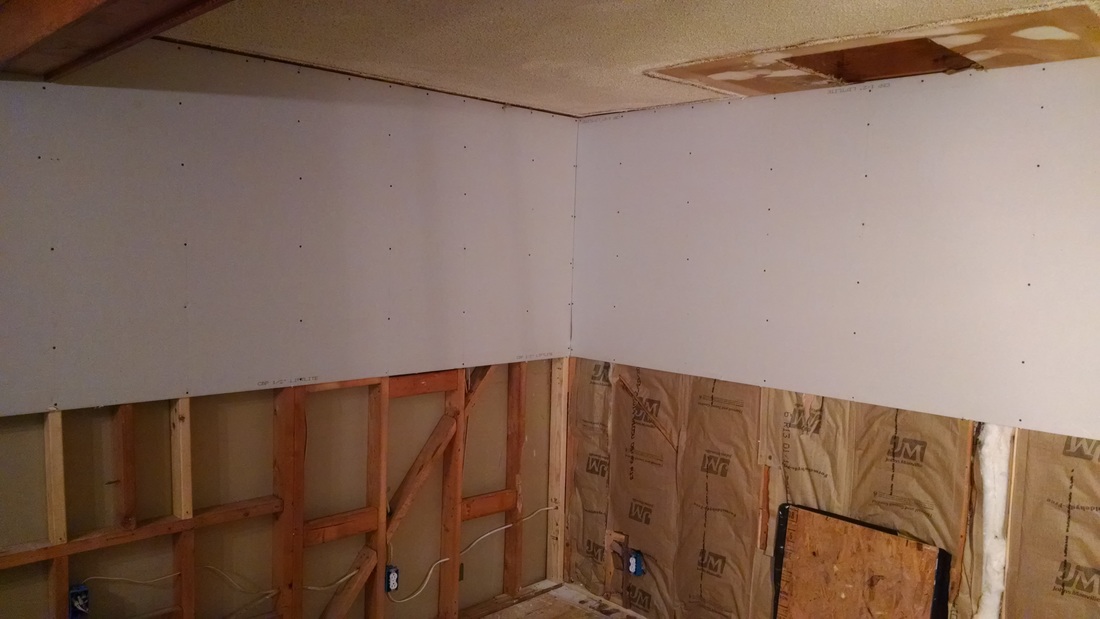
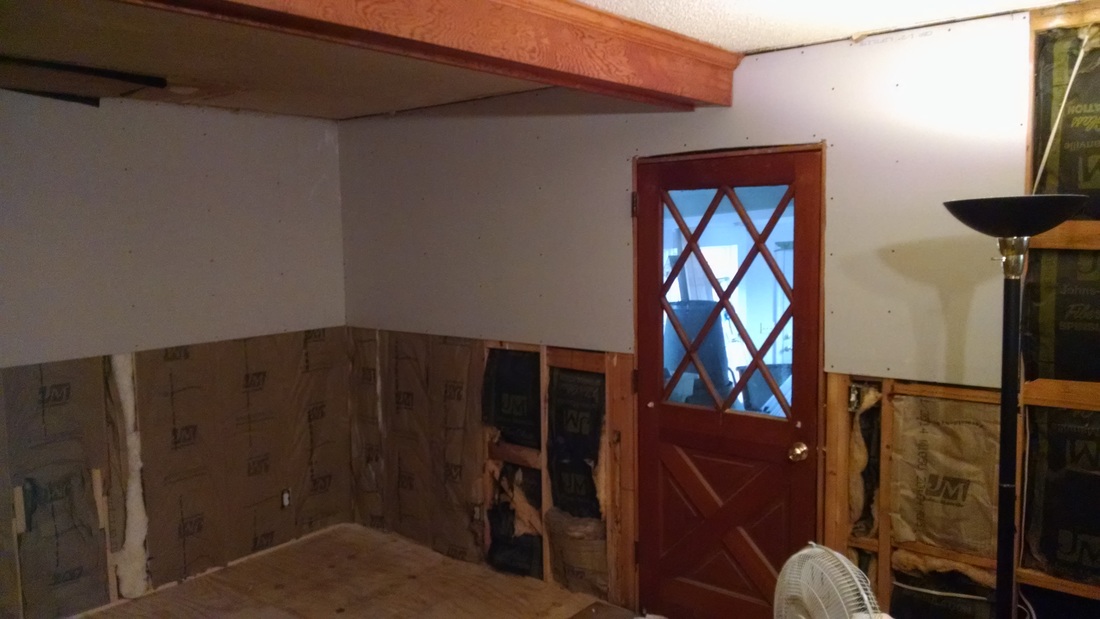
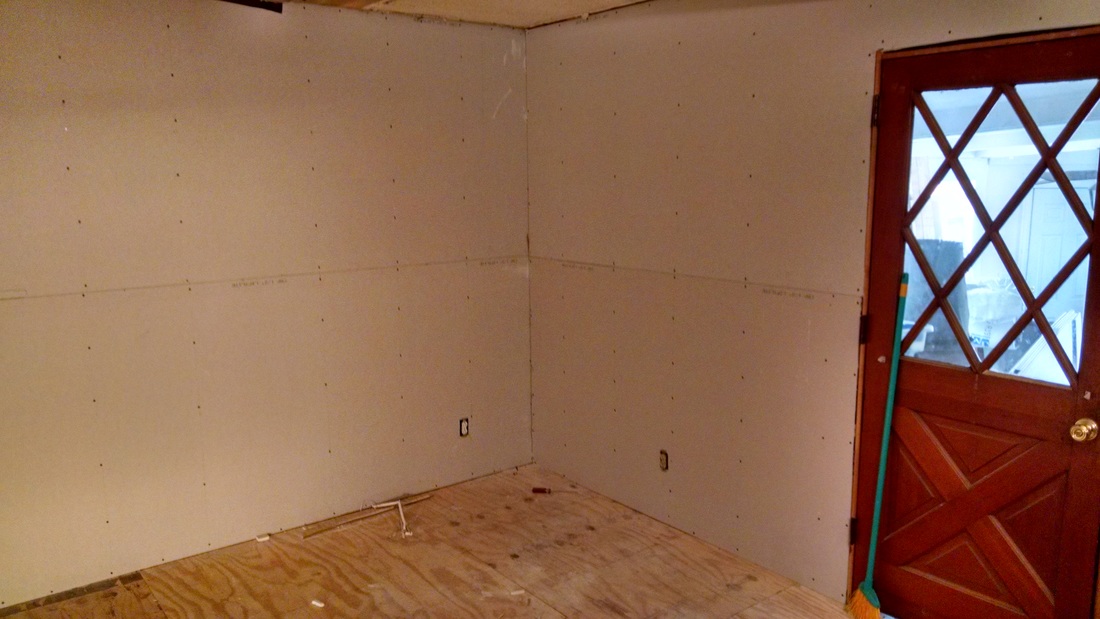
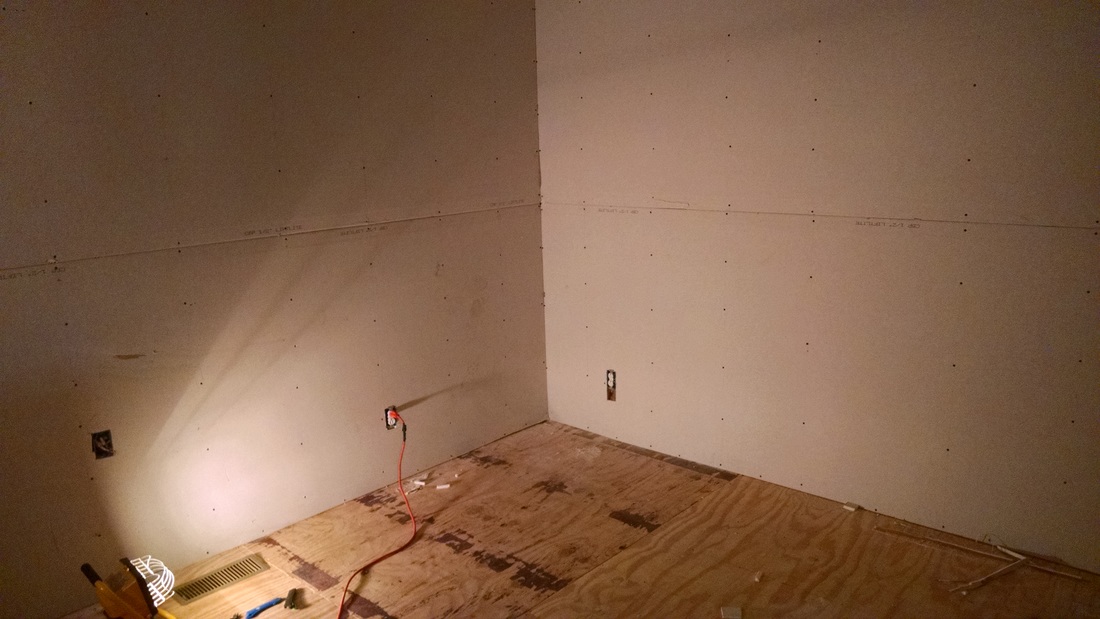
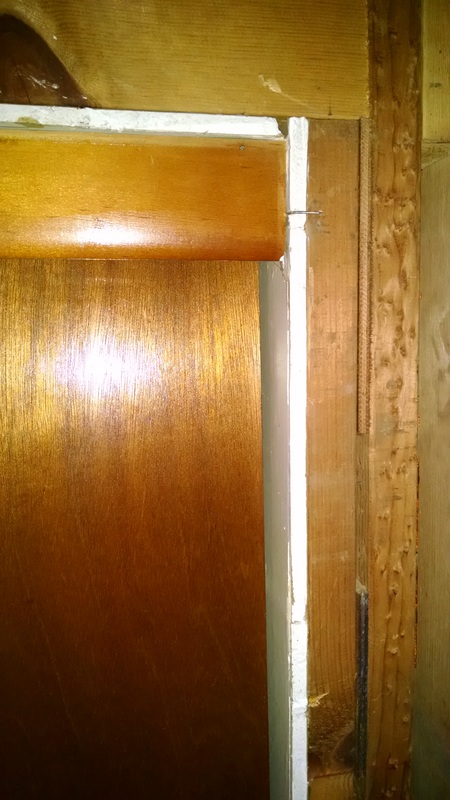
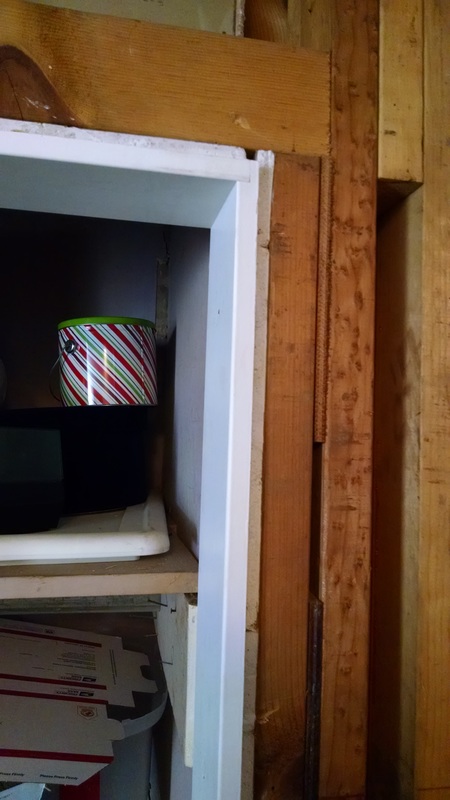
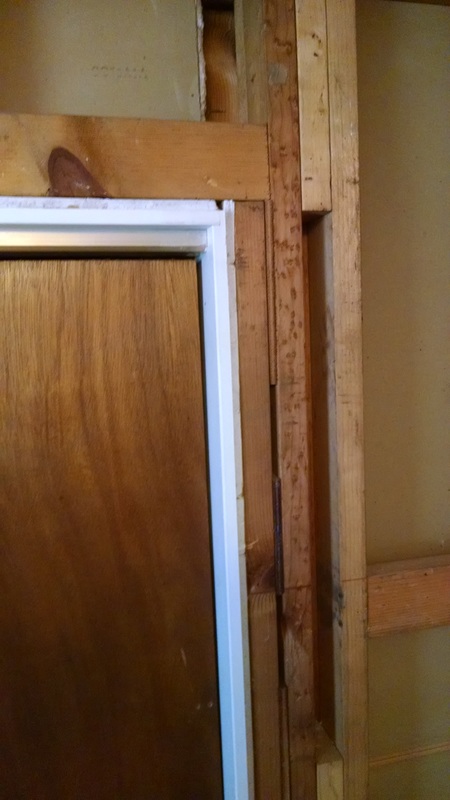
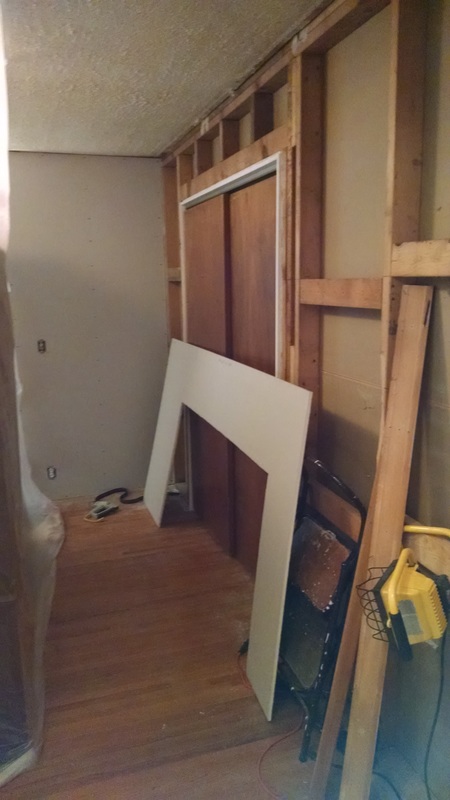
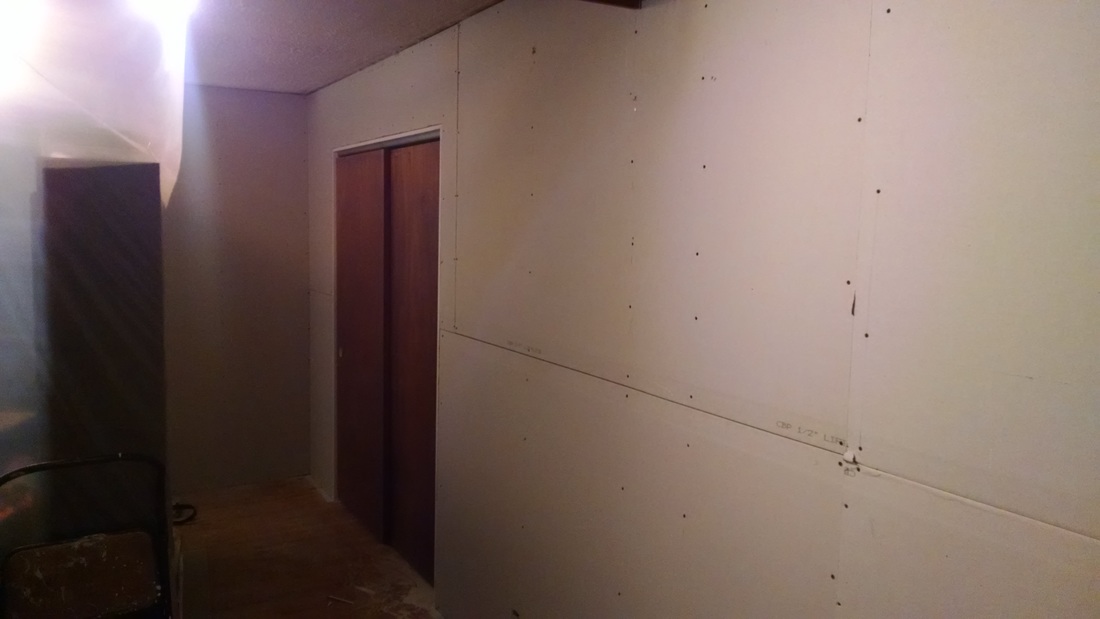
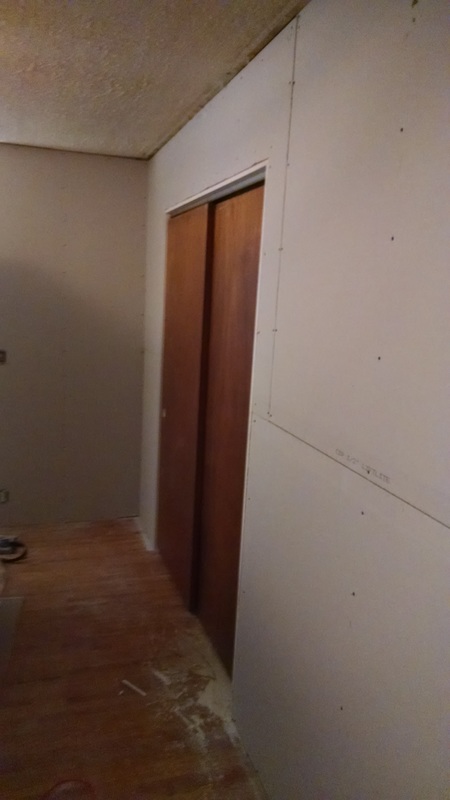
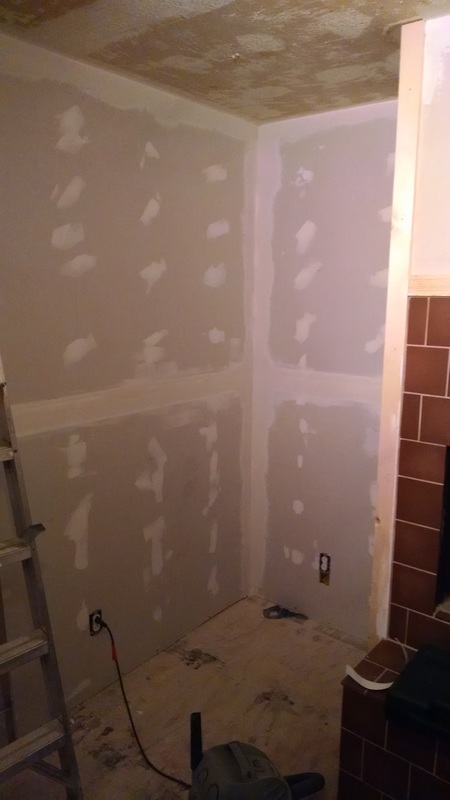
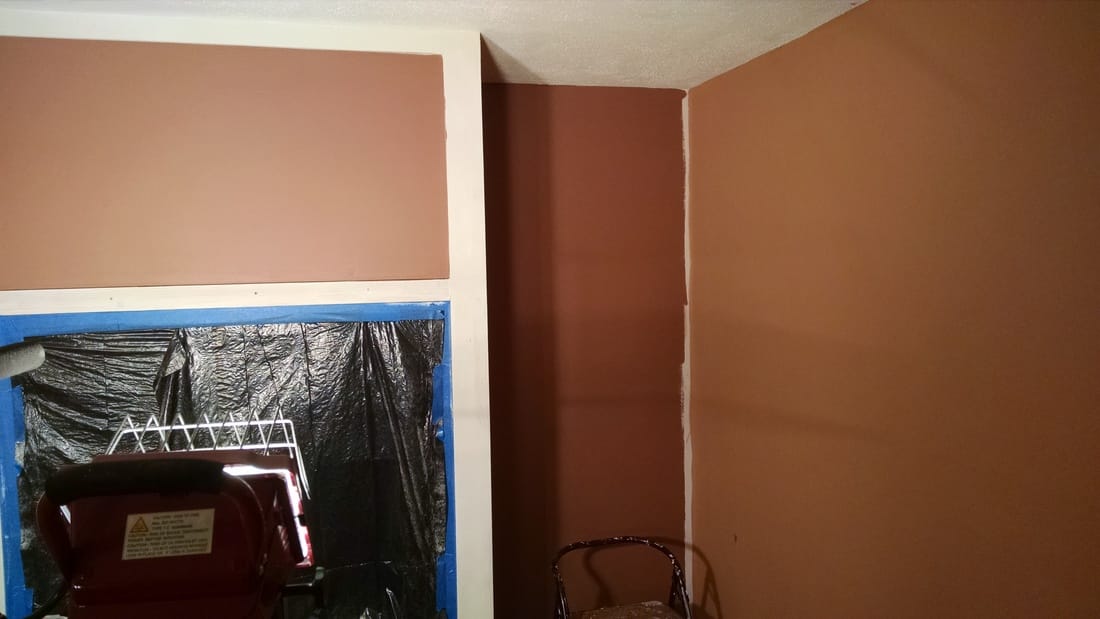
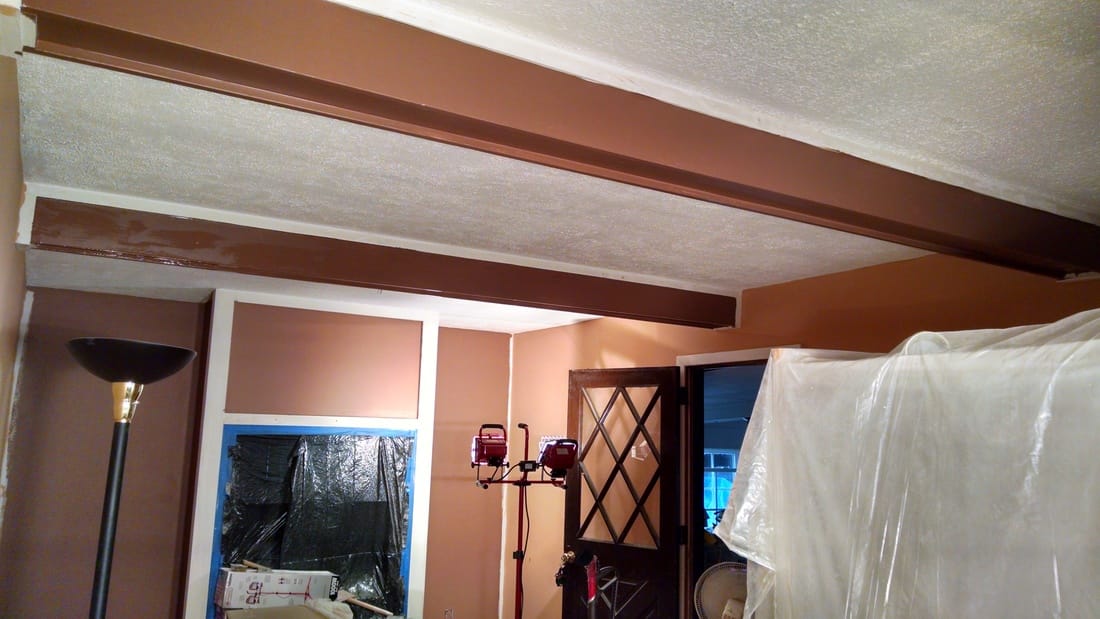
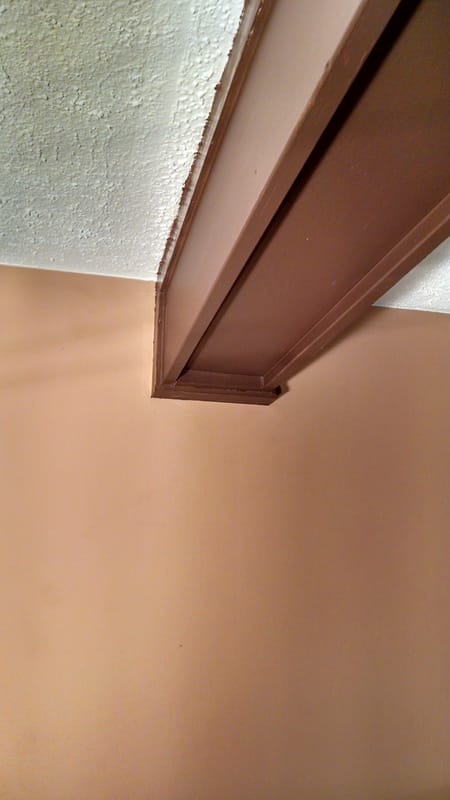
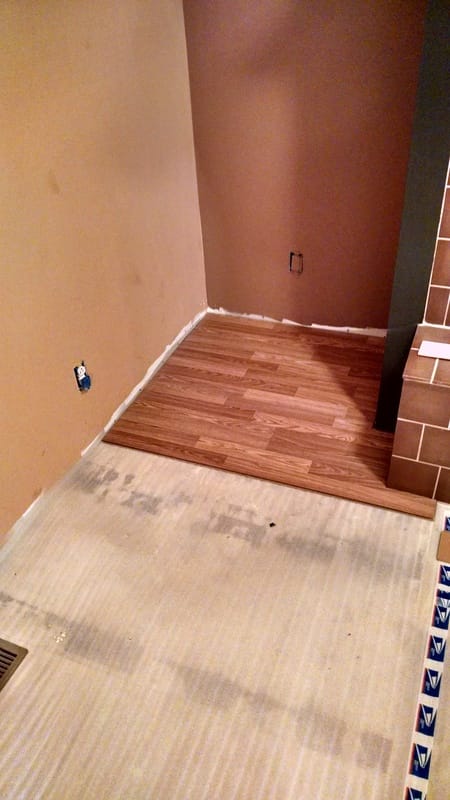
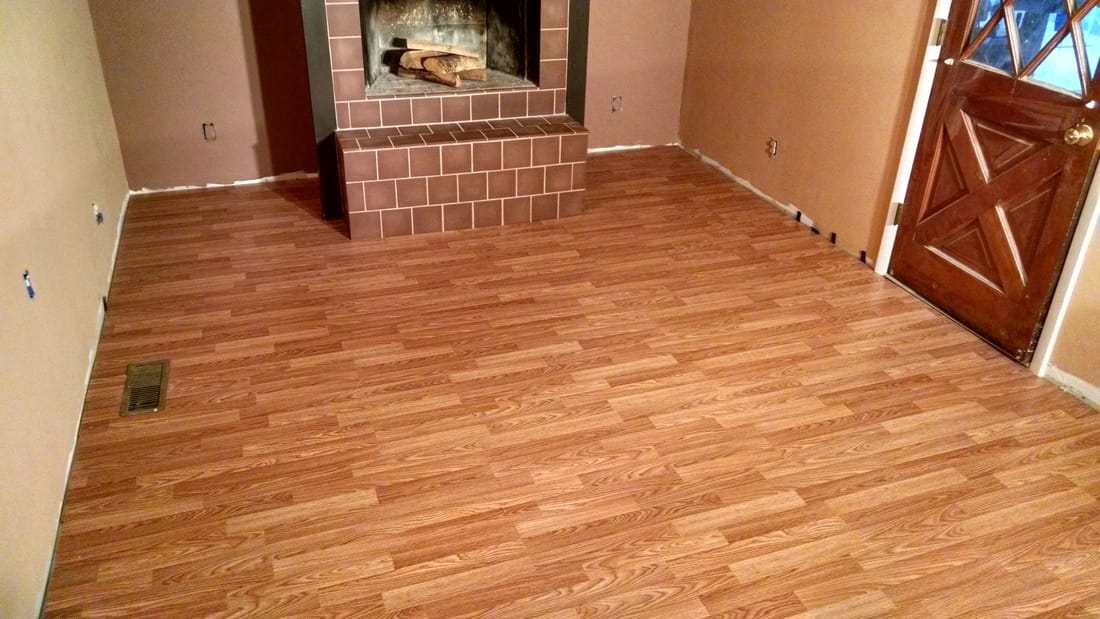
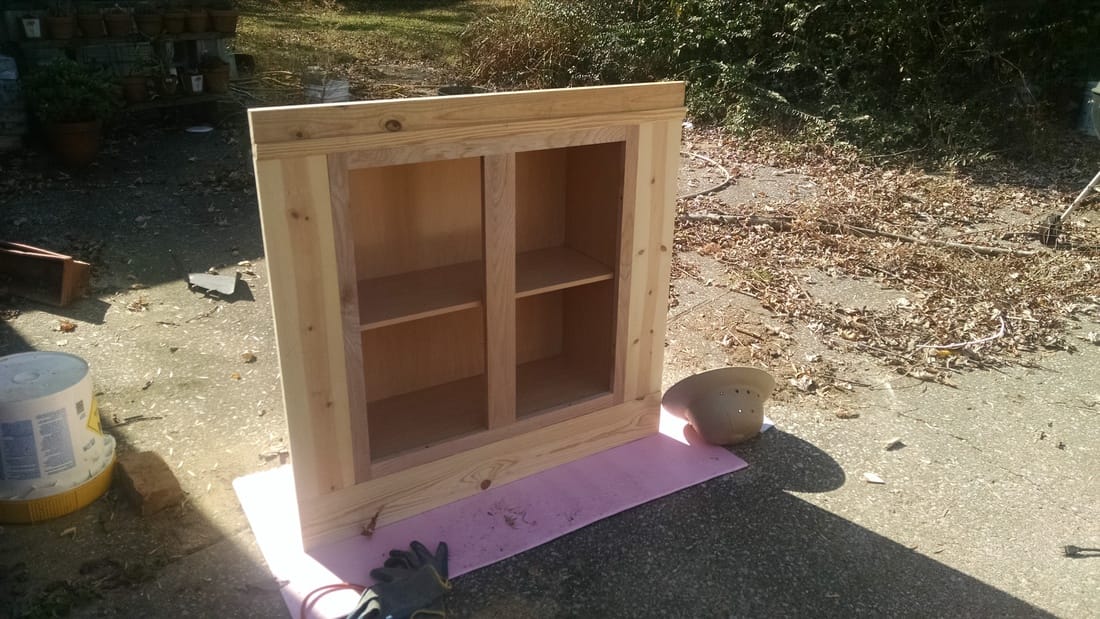
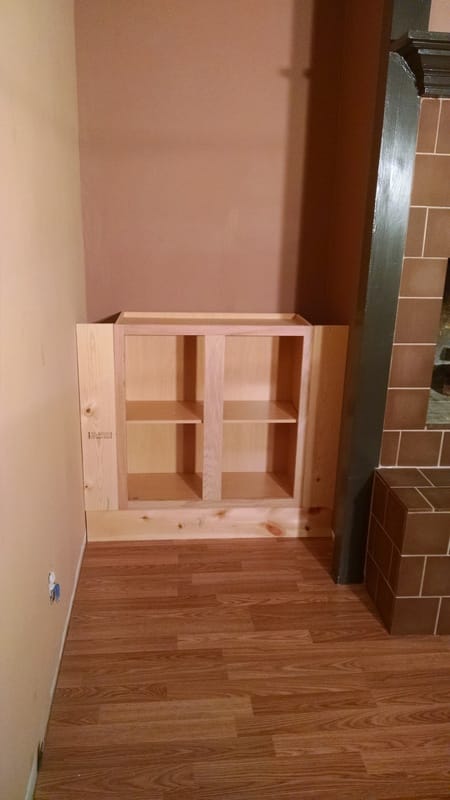
First, the sills and plates are replaced with new wood. then the area beneath the room is cleaned of old termite damaged wood, debris and trash left by the previous owners. A new vapor barrier is put down and the joists are replaced. An extra joist is added below where the fireplace will sit for additional support. During placement of the joists, the remaining sills and plates are drilled both for scope examination of the void and to administer termite preven-tative. The subfloor is finally put in place. Now work can begin on replacing or repairing the studs. As this is a non-load bearing wall, some studs are 'scabbed' to code. Once the studs are replaced or repaired, electrical is run and a standout is used to place the plugs at the right location uniformly. Outside: Wood is replaced on the house exterior and insulation is replaced so that it is ready for siding. Inside, the sub-floor is covered with tar-paper. Main floor is installed over the tar-paper (no photo.) In the adjoining patio room, a piece of wall is replaced and electrical outlets are replaced. Sheetrock is finally placed on all three walls. The closet needed to have a door frame put in, as the loss of the 3/4 pine and install of the drywall will necessitate this for the proper look. the drywall is also put up around the closet and is ready for tape and mud. More shots of the dryall At this point, you can refer to the Fireplace Rebuild to see it take shape. Proj 16a: Fireplace Support & Rebuild Then comes mud and tape. Finally, paint. But wait, we're not done yet! Laminate flooring is put down. Though we had hoped to use the laminate saved from the demolition, the new drywall being thinner than the thick pine would mean that the laminate we had wouldn't be long enough. We went with a new color and replaced it all completely. Once the flooring is down, two pre-made cabinets are faced for placement beside the fireplace. These are placed on top of the laminate floor to preclude use of baseboards and in case we want to replace the cabinets at a later date, we don't have to worry about filling in any laminae flooring. The tops of the cabinets are matched to the mantle. (See Fireplace build for creation of free floating mantle. ) Proj 16a: Fireplace Support & Rebuild |
|


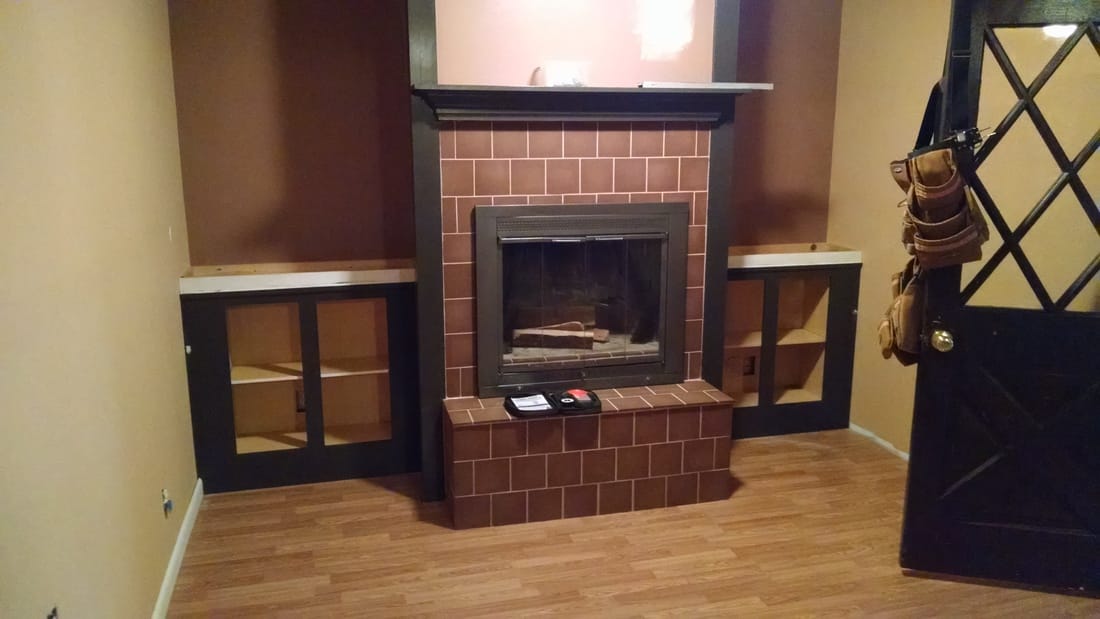
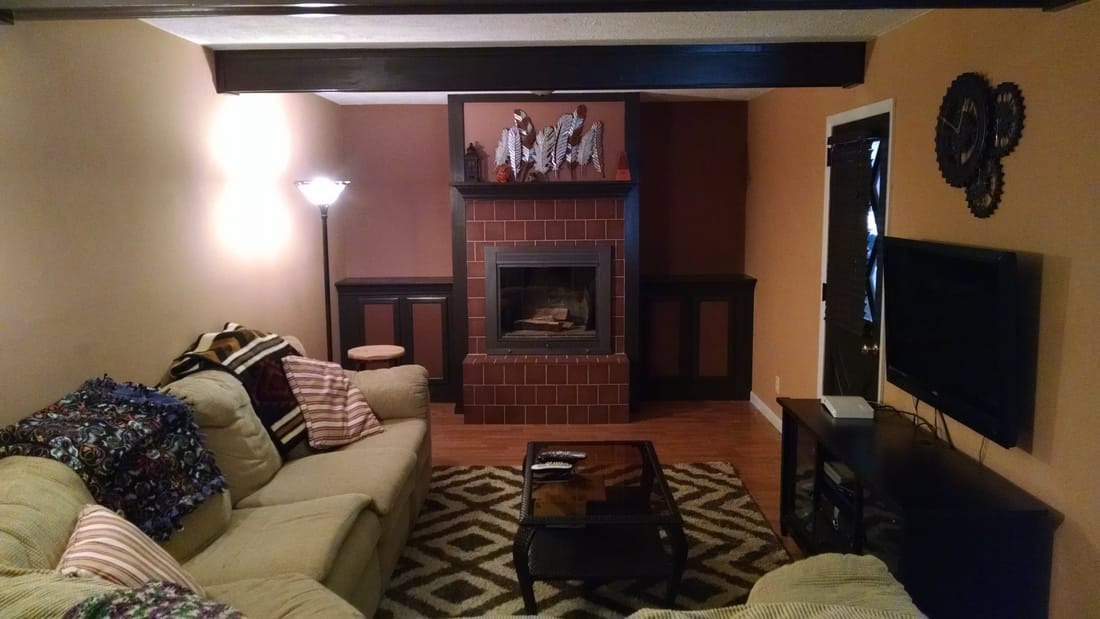
After
|
In late November of 2016, Fully 2½ years after the first termites marched across our living room, the temporary wall was removed and we reclaimed our living room. Just in time for Christmas! |
|